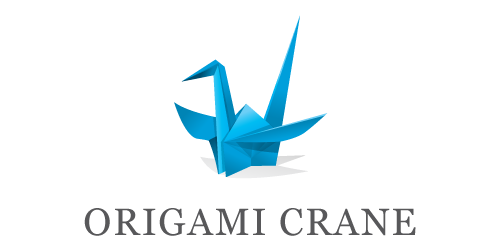
Origami logo is one of 2009’s logo style trends and is still in demand. It’s easy and fun to create using Illustrator. Origami style logo can be as simple as a flat folded paper, to a more 3D origami style like the famous origami crane: they’re all created in the same way. How realistic the logo you want to be depends on your first sketch perspective and how far you want to develop it.
Usually it’s easy to imagine how a shape would look like when it’s folded, but if the shape you choose is complicated you might want to use a piece of paper and fold it as a model.
Origami Logo Tutorial – Part 1 ‘Simple Origami’

Step 1
Open a New Document in Adobe Illustrator.
Step 2
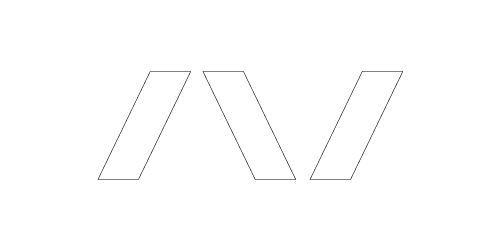
Create an outline rectangle and drag the upper end to the right. Duplicate and flip it. Copy the first rectangle to the right side.
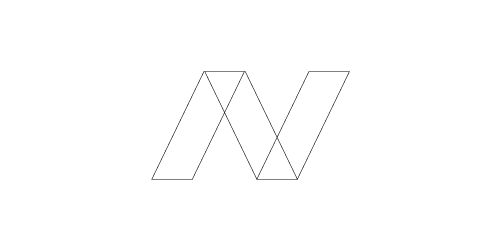
Arrange them to look like this.
Step 3
Fill in with color. Use the same color for each segment but brighter for the upper side of the paper.

Step 4
Use gradient tool for the pieces of origami at the bottom. Use darker color on one end of the gradient for the shadow. Determine how big or long you want the shadow. The bigger the shadow, the more 3D the effect is.

Now let’s experiment with a more complicated origami.
Origami Logo Tutorial – Part 2 ‘3D Origami’
Step 1
Open a New Document in Adobe Illustrator.
Step 2
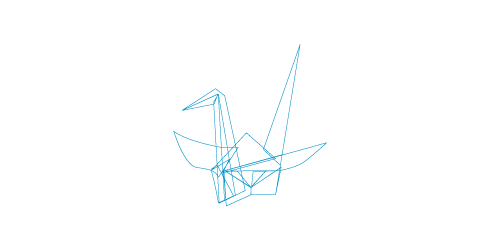
You may want to fold a real origami bird for this, but if you can draw the outline without looking at a model, that’s wonderful. It’s okay to overlap the lines because one is always on top of the others, and this prevents any gap between shapes.
Step 3

Add one color, but use different tones to distinguish different parts. In a simple origami, you can use two tones of blue. In a more complicated shape, three tones is recommended. Choose an area of the bird where the brightness and shadows are very obvious, which in this case is its head. Decide where the lighting comes from and apply those three different tones to its head.
Continue to fill in colors on other parts of the body. Try to avoid same color for neighbouring shapes. Define which shape is on top and which is under.
Step 4

Use gradient tool on each color tone. Add darker color on one end of the gradient so that all three tones have their own gradients. If a shape is bent smoothly (like the wing part), the shadow can take 50% of the shape width. If folded, the shadow takes 20-30% of the area.
Step 5

Draw areas of shadow where you think they would be. For the shadows, add gradient of black to white, use multiply effect, and reduce the opacity to 30% or 50%, depending on the intensity of the shadow. Draw highlights where you think they’re suitable. Apply the same color with the lightest gradient you have for the bird.
Add the company name, and the origami bird logo is done! It is important to know when to stop. Sometimes when we overdo it, the result declines after passing the optimal point.
Conclusion & Downloads
Thank you for reading, and if you’ve experimented with interesting origami shapes, please share them with us! You can download the origami vector logo free on DesignCrowd.

Very nice! congats!
beautiful concept you sharing. thanks
nice article … thanks for sharing
very inspiring ! thanks for posting.
hey i like all your posts and i think you guys usually show amazing stuff..keep it up guys !!!
Hey like the post and got idea how to make Origami Logo.
Thanks for sharing.
Shiv